So, you just got a shiny new USB microphone. Exciting! But before you jump into streaming, recording, or podcasting, you need to make sure it actually works. Don’t worry—you don’t need complicated software or hours of fiddling. Here’s a quick, beginner-friendly guide to testing your mic live.
1. Check Your System Settings
The first step is simple: make sure your computer is listening to your microphone.
Windows:
- Right-click the speaker icon → Sound settings.
- Scroll to Input and select your new USB mic from the dropdown.
Mac:
- Go to System Settings → Sound → Input.
- Select your USB microphone from the list.
Once selected, your computer will recognize your mic for any application.

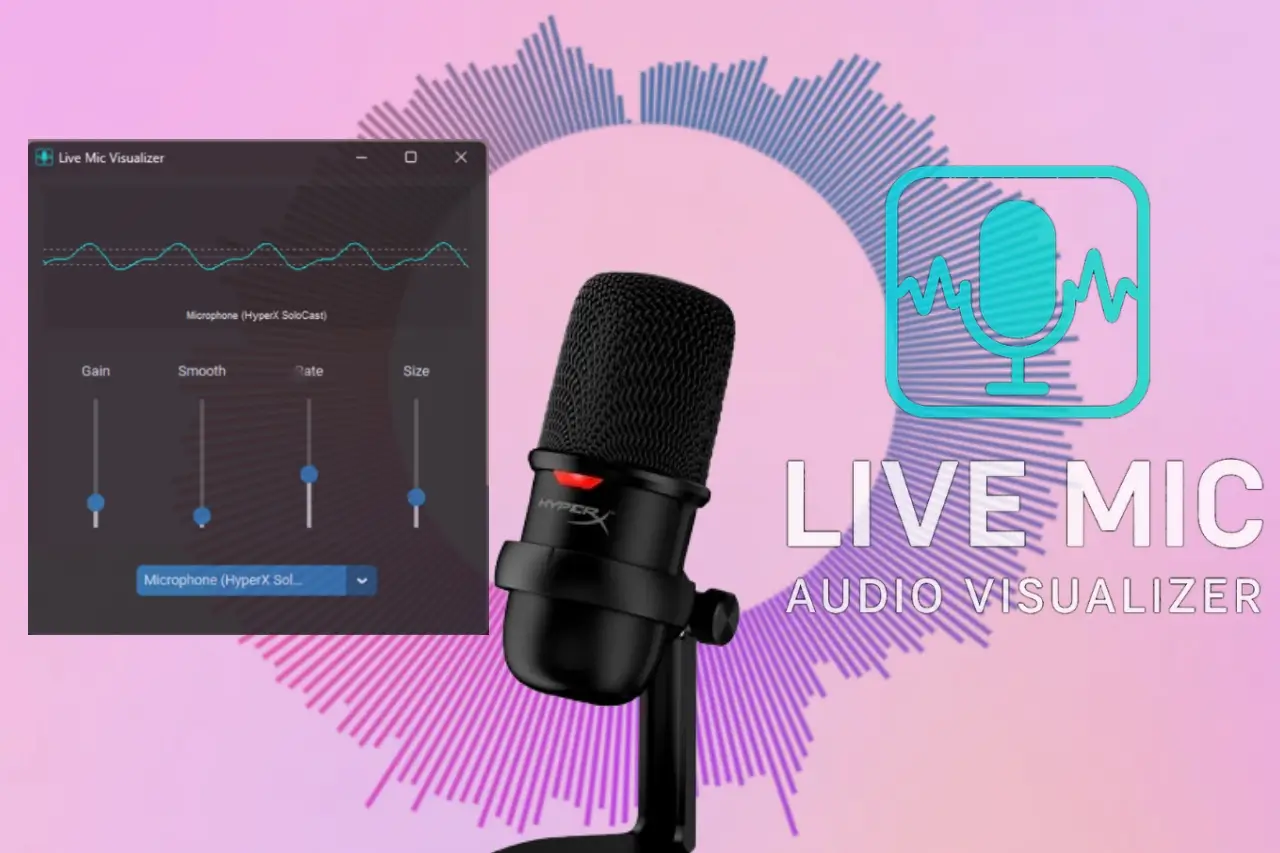
2. Test It Live With a Visualizer
Instead of opening complex recording software, you can instantly see how your mic performs using a live audio visualizer.
Benefits:
- See your audio waveform in real-time.
- Adjust your speaking volume and distance easily.
- Avoid guesswork—what you see is what you get.
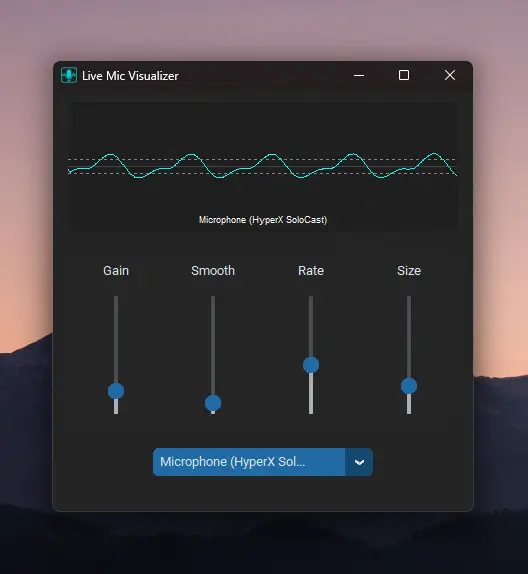
A visualizer gives you immediate feedback, making it perfect for beginners or anyone who just wants a quick setup.
Download Link (windows):
https://storage.googleapis.com/42zero-opensource-downloads/LiveMicSetup-v1.3.zip
GitHub Repository (for reference or advanced users):
https://github.com/Rottie420/live-mic-basic
3. Adjust Your Input Volume and Gain
Even with a new mic, audio can be too quiet or distorted if the input isn’t set right.
- Speak normally and watch the visualizer.
- If the waveform is small → increase gain.
- If the waveform is constantly maxed out → lower gain.
This ensures clear sound whether you’re streaming, recording, or in a call.
4. Try It in Real Applications
Don’t stop at the visualizer test your mic in the apps you actually use:
- Video calls (Zoom, Teams, Google Meet)
- Streaming software (OBS Studio)
- Voice recording apps
This guarantees your setup works where it matters most.
5. Extra Tips for a Smooth Setup
- Plug the mic directly into your computer’s USB port—not a hub.
- Keep your mic at mouth level for the best pickup.
- Restart your computer if the mic isn’t detected.
- Install manufacturer drivers if provided.
Conclusion
Testing a USB mic doesn’t have to be a headache. By selecting it in your system settings, using a live visualizer, and adjusting gain, you can go from unboxing to fully functional in just a few minutes.
Your mic is ready now go stream, record, or podcast with confidence!